This digital nail art design is inspired from Tata Photon login page.. lol!! Everyone must be wondering about it. So, let's start working on this nail art step by step:
Things Required:
For this nail art with striping tape, you must have some nail art products:
- Some bright nail polish colors: red, pink, purple, blue, green, yellow and white.
- Striping tape (I bought from ebay India)
- Top coat (preferably fast dry)
Steps for nail art:
First of all, remove old nail polish and clean your nails properly.
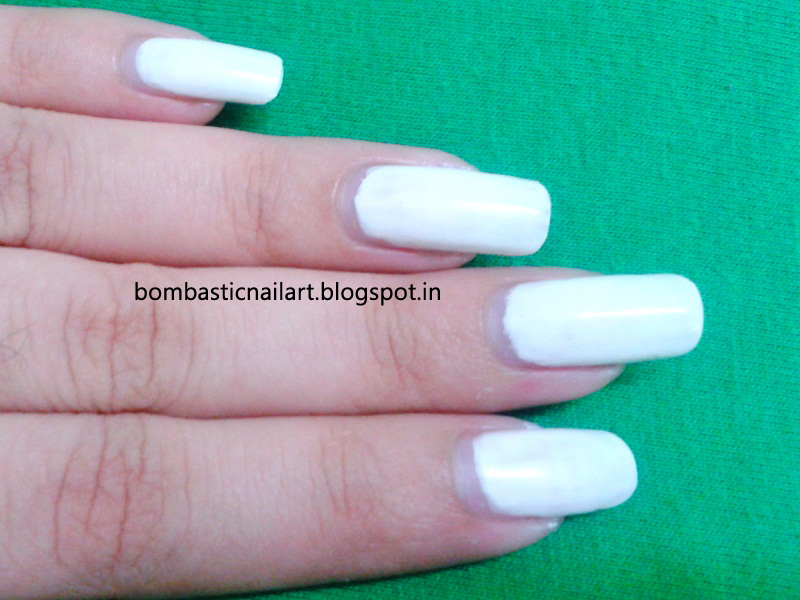
Step 1: The first step is to apply white nail polish for the base of this digital nail art with striping tape. I would suggest you to apply two coats of white nail polish for perfect base of your nail art. Now, let it dry completely. As I always say, it is very important that your base is completely dry when you are working on taping nail art. Otherwise, the tape will take off nail paint with it. For fast dry, you can use the nail polish dryer. It will take 30 seconds to dry your nail polish.
Step 2: Now, cut a few pieces of striping tape and apply on your nails as shown in the photo. You can be creative and make your own design.
Step 3: Next step is to apply different nail polish colors in the pattern, as shown in the photo. Let your nail polish dry.
Step 4: Remove striping tape carefully after nail polish is completely dry.
Step 5: Repeat step 3 and step 4.
Step 6: Apply top coat to add a shine in your nail and make it long lasting.
I hope you liked my digital striping tape nail art. If you are not in India, then you can buy striping tape from ebay International. I would like to hear suggestions..:)


No comments:
Post a Comment